Remove Background for YouTube Thumbnails: Stand Out in Search Results
Remove Background for YouTube Thumbnails: Stand Out in Search Results
Your YouTube thumbnail is the single most important factor in whether someone clicks your video. It appears in search results, recommended feeds, home pages, and subscription notifications -- and viewers decide whether to click in less than two seconds. The difference between a thumbnail that gets ignored and one that drives thousands of views often comes down to one technique: removing the background to isolate your subject.
Professional YouTubers and media companies have used this approach for years. By stripping away cluttered backgrounds and placing subjects on bold, contrasting canvases, they create thumbnails that pop at every size -- from full desktop displays to tiny mobile screens. This guide covers everything you need to know about using background removal to design YouTube thumbnails that consistently earn higher click-through rates.
Why Background Removal is Essential for YouTube Thumbnails
YouTube is the second-largest search engine in the world, and every video competes against dozens of others on any given results page. Your thumbnail is your billboard, and it needs to communicate your video's value in a fraction of a second.
Here is what background removal does for your thumbnails:
- Subject isolation: When the background is removed, the viewer's eye goes directly to the person, product, or object in the frame. There is zero visual competition from a messy room, busy street, or cluttered desk.
- Contrast and readability: Placing an isolated subject on a solid or gradient background creates strong contrast. This makes your thumbnail more legible at small sizes, which is critical because most YouTube browsing happens on mobile devices where thumbnails are displayed at roughly 160 x 90 pixels.
- Professional appearance: Thumbnails with clean, isolated subjects look polished and intentional. This signals to viewers that the video itself is high-quality and worth their time.
- Brand consistency: When every thumbnail in your channel uses the same background style and color palette, your content becomes instantly recognizable. Subscribers scrolling through their feed can spot your videos without reading the title.
- Text overlay space: Removing the background creates clean areas where you can place bold text overlays without them clashing with a busy scene.
Data from YouTube creator analytics consistently shows that channels switching to isolated-subject thumbnails see measurable increases in click-through rate, often in the range of 20 to 50 percent improvement.
YouTube Thumbnail Specifications and Best Practices
Before diving into the design process, you need to understand the technical requirements and proven design principles that make thumbnails effective.
Technical Specifications
| Specification | Requirement |
|---|---|
| Resolution | 1280 x 720 pixels (minimum 640 px wide) |
| Aspect ratio | 16:9 |
| File size | Under 2 MB |
| File formats | JPG, PNG, GIF, BMP |
| Display size (mobile) | ~160 x 90 pixels |
| Display size (desktop) | ~246 x 138 pixels |
Design Principles That Drive Clicks
- Faces with emotion: Thumbnails featuring human faces with strong expressions (surprise, excitement, curiosity) consistently outperform those without faces. When you remove the background from a portrait, the emotional expression becomes the undeniable focal point.
- Bold, readable text: Use no more than 3 to 5 words in large, high-contrast text. The text should complement the image, not repeat the video title. Sans-serif fonts with thick strokes work best at small sizes.
- High contrast colors: The background behind your isolated subject should contrast sharply. If the subject wears dark clothing, use a bright background. If the subject is light, use a dark or saturated background.
- Rule of thirds: Position your subject on one side of the thumbnail, leaving the other side for text or a second visual element. This creates a balanced composition that is easy to scan.
- Minimal clutter: Every element in the thumbnail should serve a purpose. Background removal eliminates the biggest source of visual clutter -- the original scene behind your subject.
How to Remove Backgrounds for YouTube Thumbnails Step by Step
Creating a professional YouTube thumbnail with a removed background takes just a few minutes when you use the right workflow.
Step 1: Capture or Select Your Source Image
Start with a high-quality photo or video screenshot. If you are filming yourself, capture a frame where your facial expression is strong and your body language is dynamic. The image should be well-lit with your face clearly visible. Avoid frames where you are mid-blink, blurry, or partially out of the shot.
For product or object thumbnails, photograph the item against any background -- it does not need to be clean because you will remove it entirely.
Step 2: Remove the Background with AI
Visit remove-backgrounds.net and upload your source image. The AI model will analyze the image and generate a precise mask that separates the subject from the background. This process takes just a few seconds and handles complex edges like hair, textured clothing, and semi-transparent objects with high accuracy.
Download the result as a transparent PNG. This gives you a clean cutout of your subject with no background pixels remaining.
Step 3: Create Your Thumbnail Canvas
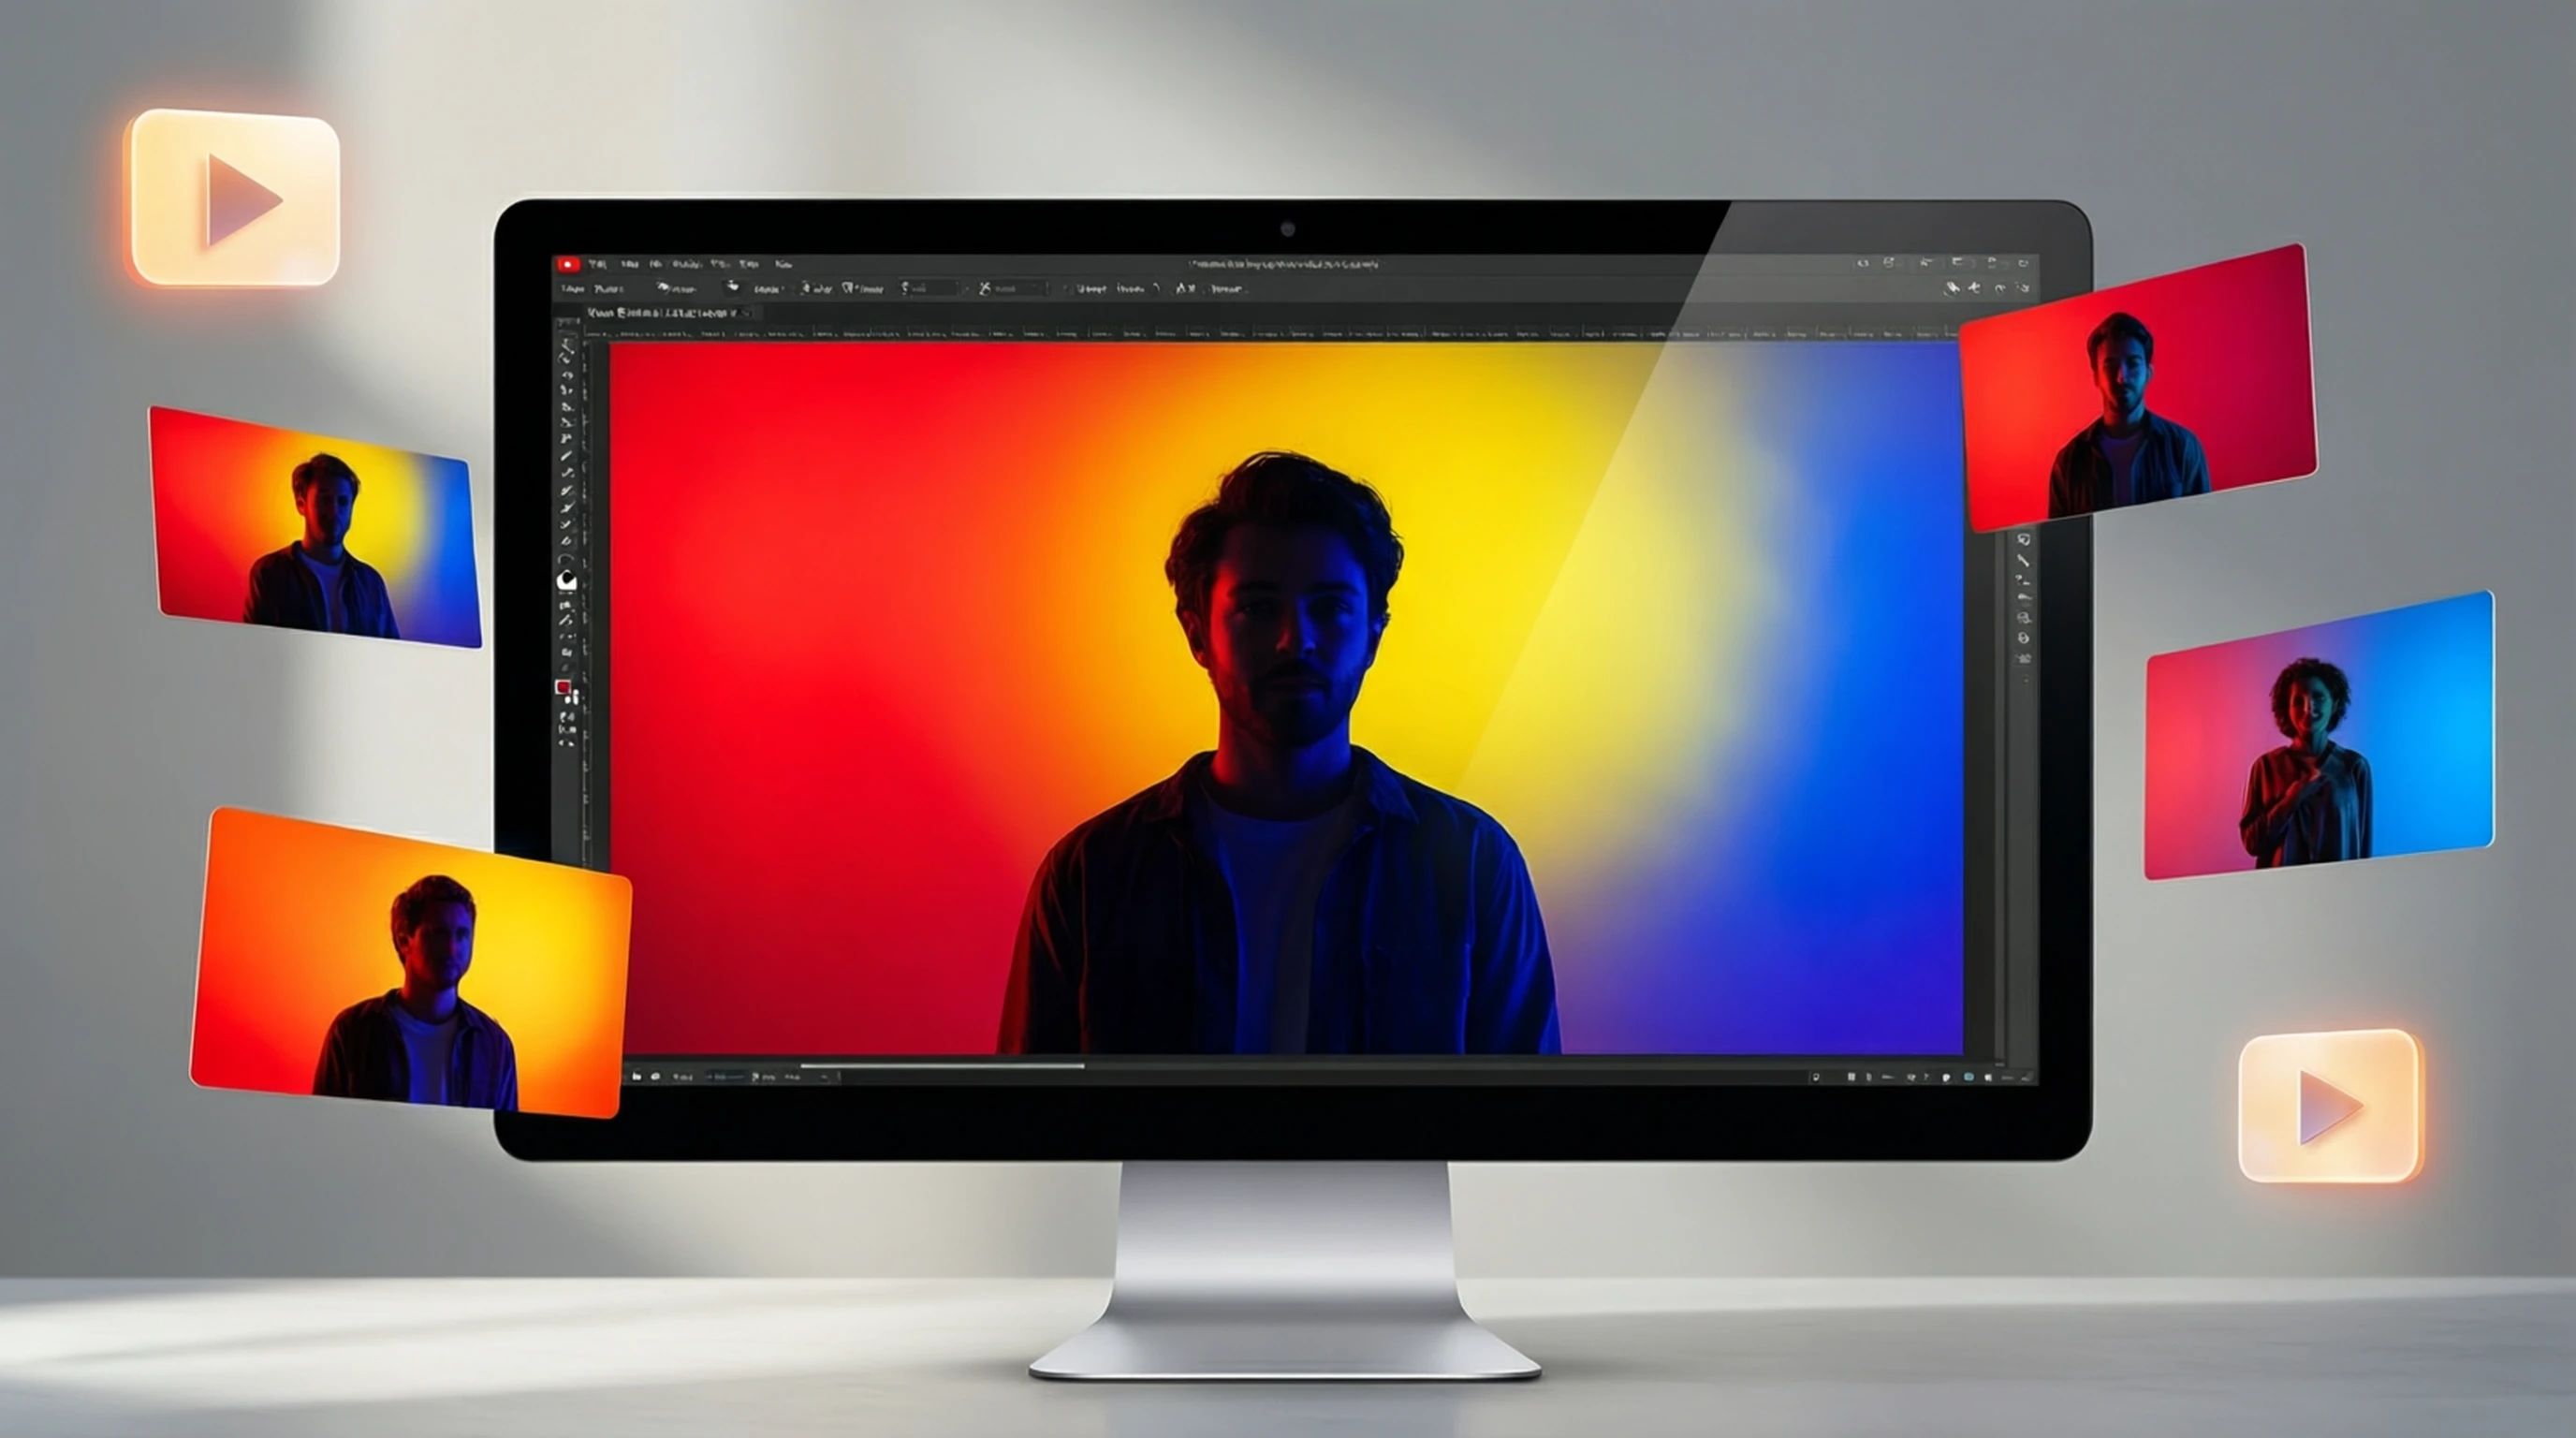
Open any image editor (Canva, Photoshop, GIMP, or even Google Slides) and create a new canvas at 1280 x 720 pixels. Fill the background with your chosen color, gradient, or pattern. Popular choices include:
- Solid bold colors: Red, yellow, blue, or green backgrounds that contrast with your subject.
- Two-tone split backgrounds: One color on the left, another on the right, creating visual dynamism.
- Radial gradients: A lighter center that darkens toward the edges, drawing focus to the subject.
- Branded backgrounds: Your channel's signature colors used consistently across every thumbnail.
Step 4: Place Your Subject and Add Text
Import your transparent PNG cutout onto the canvas. Position the subject following the rule of thirds -- typically on the left or right side. Scale the subject so it fills a significant portion of the frame; larger subjects are more visible at small thumbnail sizes.
Add your text on the opposite side of the subject. Use a maximum of 3 to 5 words in a bold, sans-serif font. Add a text outline, drop shadow, or background stroke to ensure the text remains readable regardless of the background color beneath it.
Step 5: Add Optional Elements
Consider adding supporting visual elements:
- Arrows or circles pointing to key details.
- Emoji or icons that reinforce the video's topic.
- A subtle border or outline around the subject to make them pop even further.
- Before/after indicators if the video involves a transformation.
Step 6: Export and Upload
Export the thumbnail as a JPG or PNG file under 2 MB. Upload it in YouTube Studio when publishing or editing your video. Always preview the thumbnail at small sizes to confirm it remains legible and impactful.
Tips for Eye-Catching YouTube Thumbnails
These additional strategies will help you refine your thumbnails and maximize click-through rates:
- Test at mobile size: After designing your thumbnail, shrink it to 160 x 90 pixels on screen. If you cannot read the text or identify the subject at that size, simplify the design.
- Use consistent framing: If you appear in every video, use the same crop level (chest-up or waist-up) across all thumbnails. This builds pattern recognition for your audience.
- Avoid thumbnail clutter: Resist the urge to fill every pixel with content. Negative space (empty areas) around your subject actually makes the thumbnail more effective, not less.
- Match the thumbnail to the content: Misleading thumbnails may get clicks initially, but they increase your bounce rate and hurt your channel's algorithmic performance over time.
- Create thumbnail variations: Design 2 to 3 versions and use YouTube's A/B testing feature (available to channels with sufficient traffic) to let data decide which performs best.
- Study your analytics: YouTube Studio shows click-through rates for each video. Identify which thumbnail styles perform best on your channel and double down on those patterns.
- Keep file sizes optimized: YouTube compresses uploaded thumbnails. Starting with a clean, well-optimized file ensures the compressed version still looks sharp.
- Add a subtle subject outline: After placing your cutout on the background, add a 2 to 4 pixel white or colored stroke around the subject. This creates visual separation and makes the subject appear to "pop" off the background.
Frequently Asked Questions
What size should a YouTube thumbnail be?
YouTube thumbnails should be 1280 x 720 pixels with a 16:9 aspect ratio and a file size under 2 MB. This is the resolution that displays cleanly across all devices, from large desktop monitors to small mobile screens. Always design at this exact size rather than relying on YouTube to resize a larger image.
Does removing the background really improve click-through rates?
Yes. Thumbnails with isolated subjects on clean backgrounds consistently outperform those with busy or cluttered scenes. The improvement comes from faster visual processing -- viewers can identify what the video is about in a fraction of a second, which increases the likelihood they will click. Many creators report CTR improvements of 20 to 50 percent after switching to this style.
Can I remove backgrounds from video screenshots?
Absolutely. You can take a screenshot or frame capture from your video footage and upload it directly to remove-backgrounds.net. The AI handles standard photo frames as well as video stills. Just make sure the screenshot is reasonably sharp and well-lit for the best cutout quality.
What background colors work best for YouTube thumbnails?
Bold, saturated colors perform best because they create strong contrast against the YouTube interface, which uses white and dark backgrounds. Red, yellow, bright blue, and green are popular choices. The key rule is to ensure high contrast between your subject and the background. If your subject has dark hair and dark clothing, use a bright background. If the subject is light-colored, a dark background creates the necessary separation.
How do professional YouTubers create their thumbnails?
Most professional YouTubers follow a consistent workflow: they capture a high-quality photo or video frame, remove the background to isolate the subject, place the cutout on a bold colored canvas, add large readable text, and export at 1280 x 720. Many use AI background removal tools to speed up the process, allowing them to create thumbnails in under 5 minutes. The key is consistency -- using the same style, colors, and layout across every video so the channel builds a recognizable visual brand.
Start Creating Thumbnails That Get Clicked
Your thumbnail is your video's first impression, and you only get one chance to make it count. Background removal is the fastest way to transform an ordinary photo into a scroll-stopping thumbnail that demands attention in search results and recommended feeds.
The process is simple:
- Capture a strong source image or video frame
- Remove the background at remove-backgrounds.net
- Place your cutout on a bold, contrasting background
- Add short, readable text
- Export at 1280 x 720 and upload
Every video you publish deserves a thumbnail that does it justice. Stop letting cluttered backgrounds dilute your message and start creating thumbnails that stand out.