Background Removal for Print on Demand: T-Shirts, Mugs, and More
Background Removal for Print on Demand: T-Shirts, Mugs, and More
Print on demand (POD) has transformed how creators, artists, and entrepreneurs sell physical products. You design it, upload it, and the platform handles printing, shipping, and customer service. No inventory, no upfront costs, no warehouse. But there is one step that separates amateur POD listings from professional ones that actually sell: background removal.
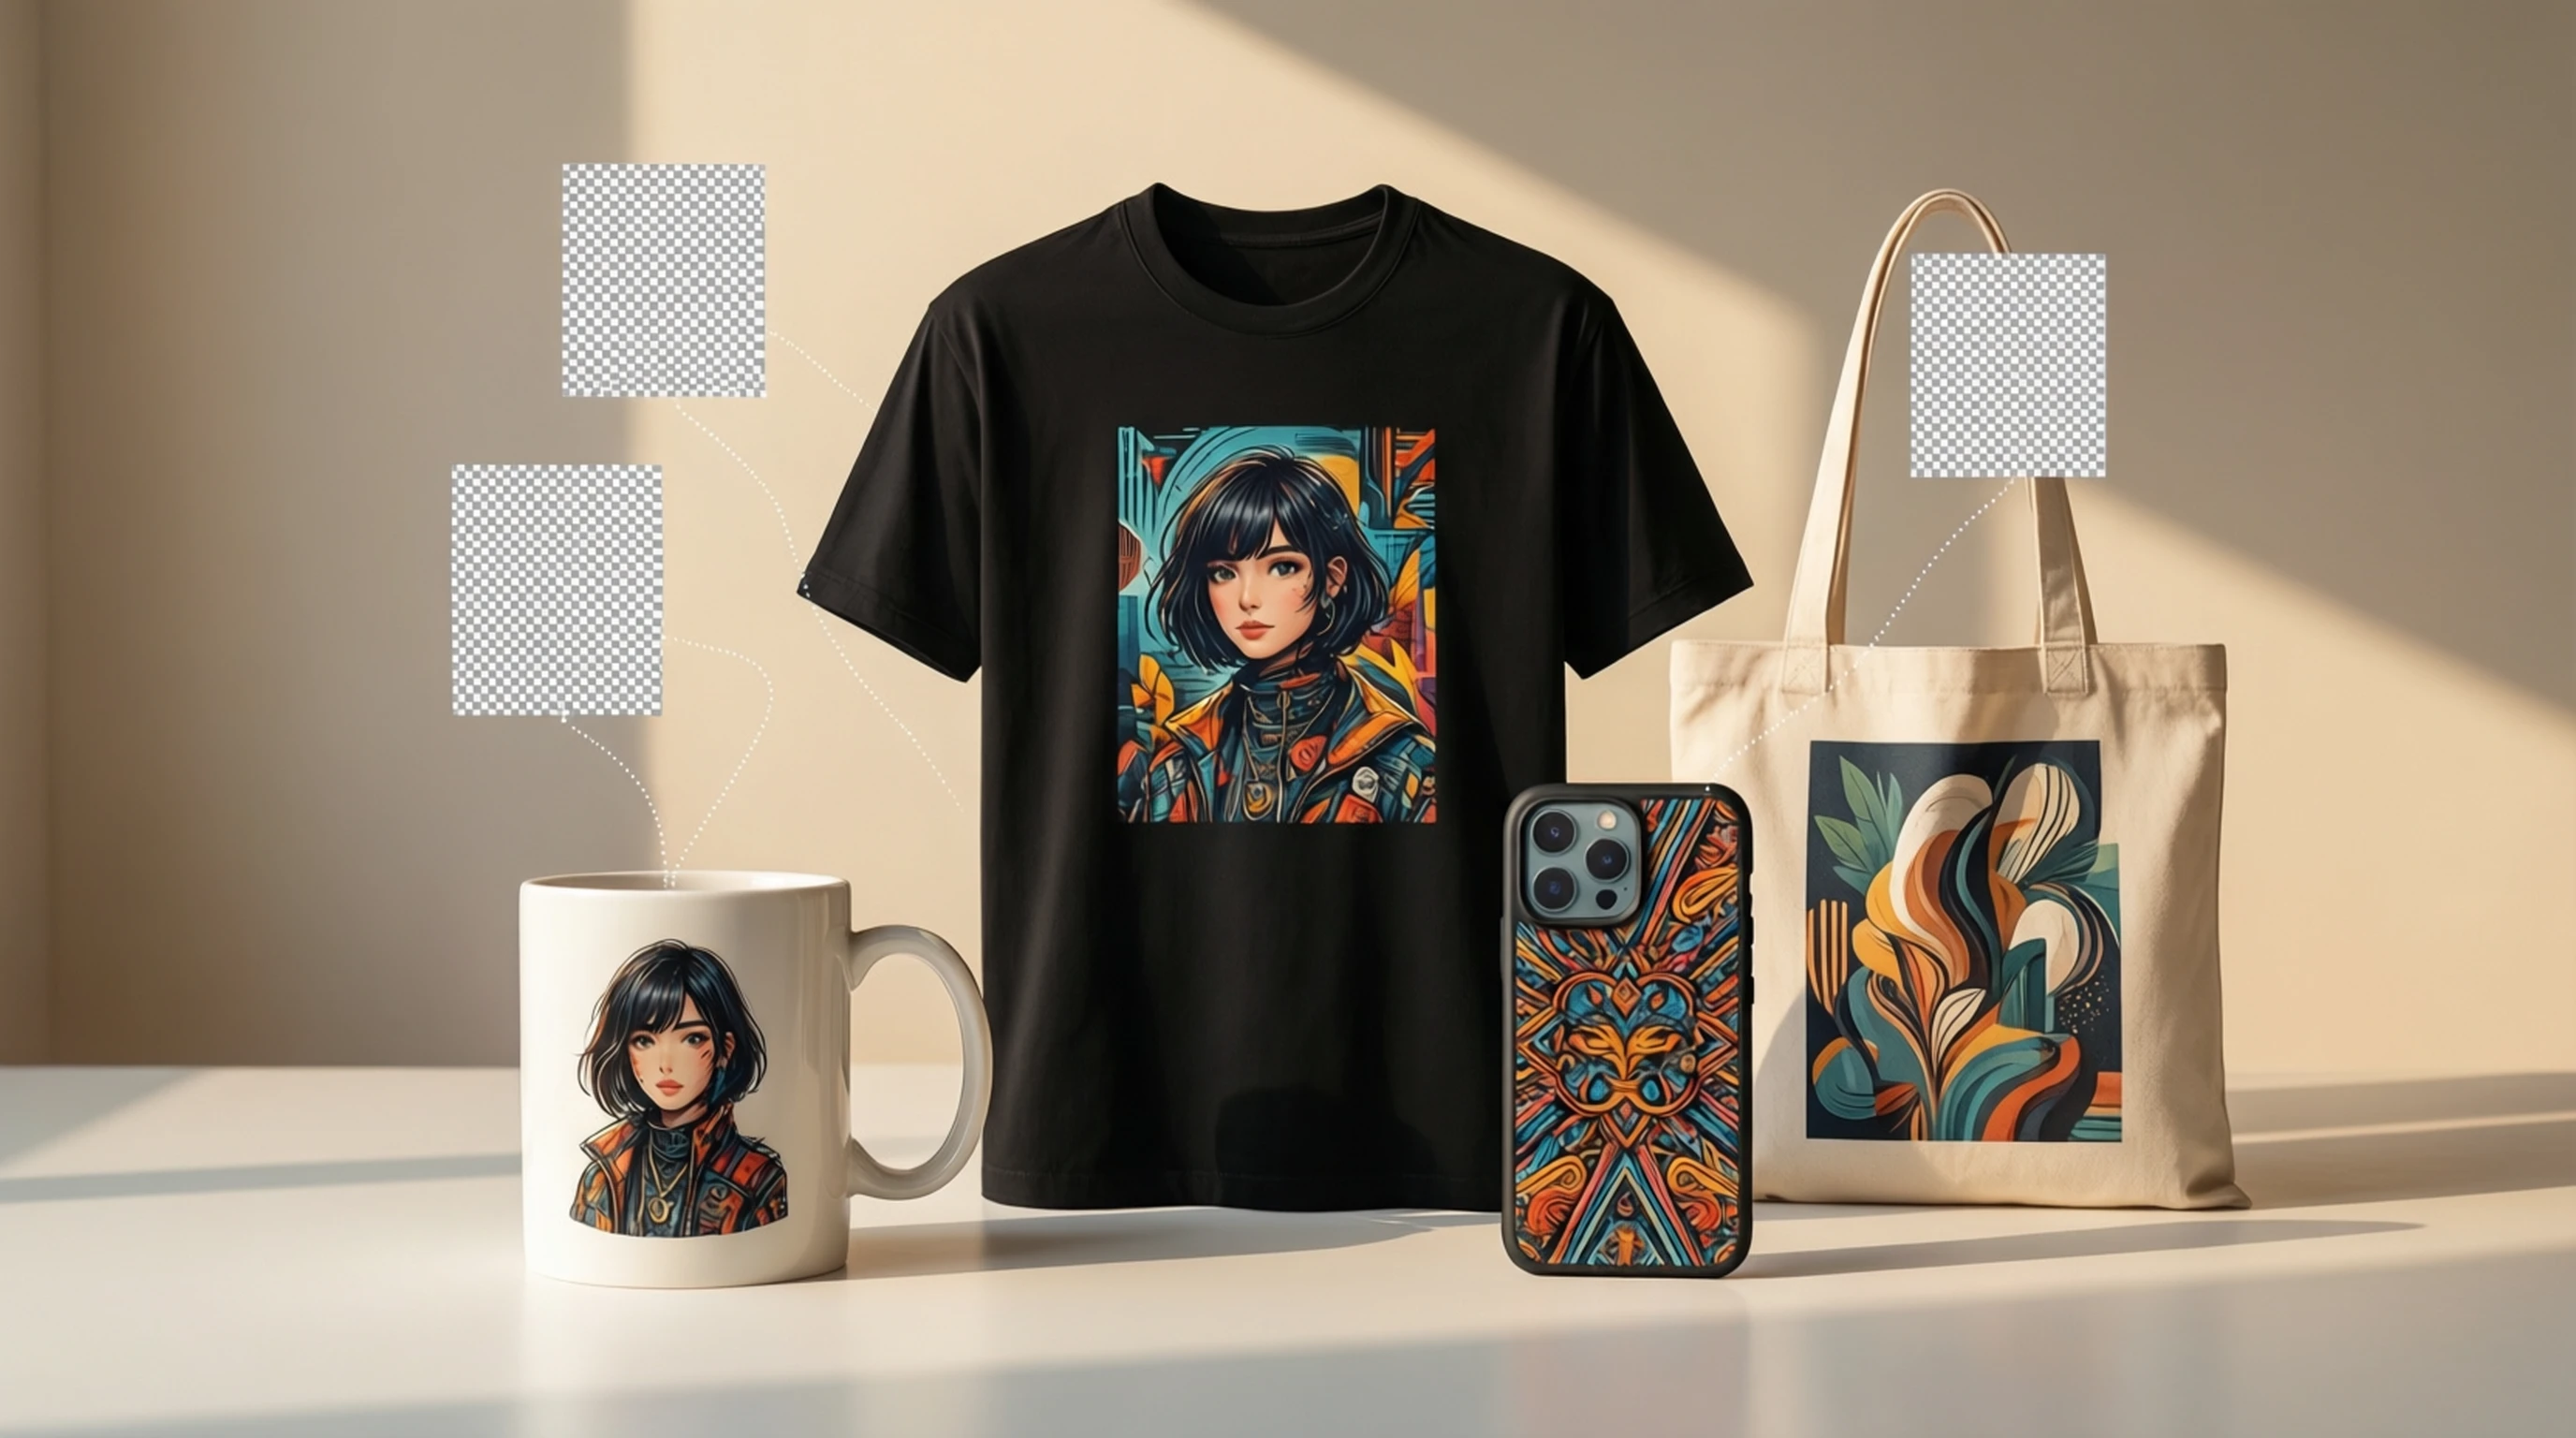
Whether you are putting a photo on a t-shirt, a design on a mug, or artwork on a phone case, the first step in almost every POD workflow is isolating your subject on a transparent background. A design with leftover background pixels, a visible white rectangle on a colored shirt, or fuzzy edges around a printed image screams low effort and kills sales before they start.
This guide covers everything you need to know about background removal for print on demand, including platform-specific file requirements, design tips for different product types, and the workflow that successful POD sellers follow.
Why Background Removal Is the Foundation of POD Design
Print on demand products are printed directly onto the product surface (direct-to-garment for apparel, dye sublimation for mugs, UV printing for phone cases). The printing process applies ink only where your design has pixels. If your design has a white or colored background rectangle, that rectangle gets printed onto the product -- creating an obvious, unprofessional-looking box around your design.
Transparent backgrounds solve this completely. When your design file has transparency, only the actual design elements are printed. The product surface (shirt fabric, mug surface, phone case material) shows through everywhere else, making the design look like it was professionally screen-printed or embedded into the product.
This is not a nice-to-have. Transparent backgrounds are a hard requirement for professional-quality POD products. Every successful POD seller understands this, and every major POD platform is designed to work with transparent PNG files.
Platform-Specific File Requirements
Each POD platform has its own specifications for upload files. Using the wrong dimensions, resolution, or file format results in rejected uploads, blurry prints, or designs that do not fill the printable area properly.
Redbubble
| Specification | Requirement |
|---|---|
| File format | PNG (transparent background) |
| Recommended size | 7632 x 6480 px (for all products) |
| Minimum size | 2400 x 3200 px |
| Resolution | 300 DPI |
| Color mode | RGB (sRGB color space) |
| Max file size | 300 MB |
Redbubble automatically adapts your design across 70+ product types. Upload the largest version possible and the platform handles resizing. Transparent backgrounds are essential because Redbubble offers products in multiple colors -- your design needs to work on black shirts, white mugs, and everything in between.
Merch by Amazon
| Specification | Requirement |
|---|---|
| File format | PNG (transparent background required) |
| Required size | 4500 x 5400 px |
| Resolution | 300 DPI |
| Color mode | RGB (sRGB) |
| Max file size | 25 MB |
Merch by Amazon is strict about dimensions. Your file must be exactly 4500 x 5400 pixels for standard t-shirts. The platform explicitly requires transparent backgrounds -- uploads with non-transparent backgrounds are rejected or flagged for review.
Printful
| Specification | Requirement |
|---|---|
| File format | PNG (transparent background recommended) |
| Minimum resolution | 150 DPI (300 DPI recommended) |
| Recommended size | Varies by product (see Printful's product templates) |
| Color mode | RGB (sRGB) |
| Max file size | 200 MB |
Printful provides downloadable templates for every product in their catalog. Each template shows the exact printable area, safe zone, and bleed area. Download the template for your target product before designing to ensure your artwork fits perfectly.
TeeSpring (Spring)
| Specification | Requirement |
|---|---|
| File format | PNG (transparent background) |
| Recommended size | 4500 x 5400 px for apparel |
| Minimum resolution | 200 DPI |
| Color mode | RGB |
| Max file size | 20 MB |
TeeSpring supports a wide range of products and automatically scales your design. Transparent backgrounds are required for designs that need to look natural on the product surface.
Society6
| Specification | Requirement |
|---|---|
| File format | PNG or JPEG |
| Recommended size | 6500 x 6500 px (for all-over prints) |
| Resolution | 300 DPI |
| Color mode | RGB |
Society6 focuses on art prints, home decor, and accessories. For products like throw pillows and tote bags, transparent backgrounds ensure your art integrates cleanly with the product.
How to Prepare Designs for Print on Demand Step by Step
Step 1: Create or Source Your Design
Your POD design might be:
- A photograph (landscape, portrait, pet photo, food image)
- Hand-drawn artwork that you scan or photograph
- Digital illustration created in design software
- Text-based design with typography and simple graphics
- A combination of photo elements and text
For any design that starts with a photograph or includes photographic elements, background removal is your first production step.
Step 2: Remove the Background
Upload your image to remove-backgrounds.net/upload. The AI processes your image in seconds, producing a clean transparent PNG with precise edge detection. This is particularly important for POD because print processes amplify any imperfection -- a tiny background fragment that is barely visible on screen becomes an obvious flaw on a printed product.
Review the result at 100% zoom, paying special attention to:
- Edges around the subject (should be clean and natural)
- Fine details like hair, fur, or intricate shapes
- Any small background fragments that the AI might have missed
- Semi-transparent areas like glass or thin fabric
Step 3: Prepare the Design at the Correct Dimensions
Open your transparent PNG in an image editor and place it on a canvas matching your target platform's requirements. For example:
- Merch by Amazon t-shirt: 4500 x 5400 px canvas, transparent background
- Redbubble: 7632 x 6480 px canvas, transparent background
- Printful poster: Match the product template dimensions
Position your subject within the canvas, leaving appropriate margins. For t-shirts, the design is typically centered and occupies roughly 60-80% of the printable area. For mugs, the design wraps around the surface, so consider how it looks from multiple viewing angles.
Step 4: Add Design Elements
With your subject isolated on a transparent background, you can enhance the design with:
- Text and typography: Product names, quotes, slogans, or humorous captions
- Graphic elements: Borders, frames, splashes, banners, or decorative shapes
- Color adjustments: Boost contrast and saturation slightly, as printed colors often appear less vibrant than on screen
- Multiple cutout elements: Combine several background-removed subjects into a single composition
Step 5: Export and Upload
Export your final design as a PNG with transparency preserved. Verify the file meets the platform specifications (dimensions, DPI, file size) before uploading. Most platforms show a preview of how your design will look on the product -- review this carefully before publishing.
Design Tips for Different Product Types
T-Shirts and Apparel
- Design for the darkest and lightest shirt colors. Preview your design on both black and white shirts. A design that looks great on white might disappear on black.
- Keep the design area compact. Shirts have a printable area of roughly 12 x 16 inches. Designs that use the full area edge-to-edge often look better than small, centered logos.
- Use bold lines and high contrast. Fine details and subtle gradients do not reproduce well in direct-to-garment printing. Thick lines, solid fills, and strong color contrast print beautifully.
- Avoid tiny text. Any text should be readable at the actual print size. If your text is smaller than about 0.25 inches when printed, it will be illegible.
Mugs and Drinkware
- Remember the wrap. A mug design wraps around a curved surface. The full design is visible only when you rotate the mug. Design with this in mind -- the most important element should be on the front-facing section.
- Use the full print area. Mugs look best with edge-to-edge designs rather than small centered logos.
- Consider the handle zone. There is a non-printable strip where the handle attaches. Keep critical design elements away from this area.
- Test with a mockup. Most platforms provide 3D mockup previews. Rotate the virtual mug to check your design from every angle.
Phone Cases
- Account for the camera cutout. Every phone model has a different camera position. The printable area excludes the camera zone, so do not place important design elements where they might be cut off.
- Edge bleed matters. Phone case prints wrap around the edges. Add bleed area to your design so the print does not end with a white strip along the sides.
- Bold works best. Phone cases are small surfaces viewed at arm's length. Intricate details are lost. Bold patterns, large subjects, and high-contrast designs stand out.
Stickers and Decals
- Die-cut shapes need clean edges. The sticker is cut along the outline of your design. Any background removal artifacts become the physical edge of the sticker. Make sure your edges are flawless.
- Add a small border/margin. A 2-3mm white or colored border around the subject prevents the die-cut from clipping into the design.
Posters and Art Prints
- Resolution is critical. Posters are printed at large sizes, so low-resolution source images produce visibly pixelated results. Use the highest resolution source photo available and ensure your final file is at least 300 DPI at print size.
- Color accuracy matters. What you see on screen is often more vivid than what comes off the printer. Slightly increase saturation and contrast in your design file to compensate for printing color loss.
Common Mistakes POD Sellers Make with Background Removal
-
Leaving a faint background halo: A thin ring of the original background color around the subject. This is visible on printed products, especially on dark-colored items. Zoom in to 200-300% and check edges before uploading.
-
Using JPEG instead of PNG: JPEG does not support transparency. Even if your image looks like it has a white background, uploading a JPEG to a POD platform will print that white as a visible white rectangle on the product.
-
Insufficient resolution: Removing the background from a small image does not magically increase its resolution. Start with the highest resolution source image available. For t-shirts, you need at least 4500 pixels on the longest dimension.
-
Ignoring product color variations: A design that looks perfect on a white shirt mockup might be invisible on a light yellow or pastel shirt. Test your design against multiple product colors.
-
Over-processing the image: Heavy filters, extreme saturation, or aggressive sharpening in the source image will look worse when printed. Keep your source image as natural as possible and make only subtle adjustments.
Tips for POD Success with Background Removal
-
Batch process your designs. If you have 20 product photos to prepare, upload them all in one session. Efficient background removal workflows save hours of manual editing.
-
Build a template library. Create canvas templates at the correct dimensions for each platform you sell on. This eliminates the dimension guesswork for every new design.
-
Test with a sample order. Before scaling a design across dozens of products, order one sample. Check print quality, color accuracy, and edge definition in person.
-
Optimize for the best-selling product first. T-shirts and stickers typically have the highest margins and volume in POD. Perfect your designs for these products before expanding to mugs, phone cases, and others.
-
Study top sellers in your niche. Look at the best-selling designs on Redbubble and Merch by Amazon in your category. Notice how they use transparent backgrounds, bold composition, and clear subjects.
-
Keep your master files organized. Save both the original photo and the background-removed PNG in a well-organized folder structure. You will need the originals if you want to reprocess at different sizes later.
Frequently Asked Questions
Can I use any photo for print on demand products?
You can use photos you have taken yourself or photos you have purchased the commercial license for. Stock photos often have license restrictions that prohibit use on physical merchandise. Always verify the license terms. Your own original photography is the safest option and gives your products a unique advantage.
What DPI do I need for print on demand?
300 DPI at the final print size is the industry standard for sharp, professional prints. Some platforms accept 150 DPI as a minimum, but the difference in print quality is noticeable. Always aim for 300 DPI. For a standard t-shirt print area of 12 x 16 inches, that means a file of 3600 x 4800 pixels or larger.
Why does my design look different when printed than on screen?
Screens display colors using RGB light, while printers use CMYK ink. This fundamental difference means that some vibrant screen colors (especially bright blues, greens, and neon tones) cannot be exactly reproduced in print. To compensate, slightly increase the saturation and contrast of your design, and avoid relying on colors that are outside the CMYK gamut. Ordering a sample print is the only way to verify colors before scaling.
Do I need to remove backgrounds for all-over print products?
All-over prints (where the design covers the entire product surface, like all-over print t-shirts or leggings) typically use a full rectangular design that fills the entire printable area. For these products, you usually do not need a transparent background -- you need a design that fills edge to edge. However, if your all-over design includes photographic elements composed on a patterned background, you would still remove the subject backgrounds first and then composite them onto your full-bleed design.
How many designs should I have to start making money with POD?
There is no magic number, but most successful POD sellers recommend having at least 50-100 designs across your catalog before expecting consistent sales. Each design is a lottery ticket -- the more you have, the better your chances of one catching organic search traffic. Background removal speed matters here: being able to process photos into print-ready designs quickly lets you build your catalog faster than competitors who are manually editing in Photoshop.
Start Building Your Print on Demand Catalog
Every successful POD product starts the same way: a great design on a transparent background. Whether you are launching your first t-shirt or expanding a catalog of hundreds of products, efficient background removal is the skill that keeps your production pipeline moving.
Here is the workflow that professional POD sellers follow:
- Source or create your design image
- Remove the background at remove-backgrounds.net/upload in seconds
- Place on the correct canvas size for your target platform
- Add text, branding, or design elements
- Export as PNG with transparency and upload to your POD platform
No expensive design software. No hours of manual masking. Just clean, professional designs ready for production.